How to Clean a Greasy Oven Without Harsh Scrubbing
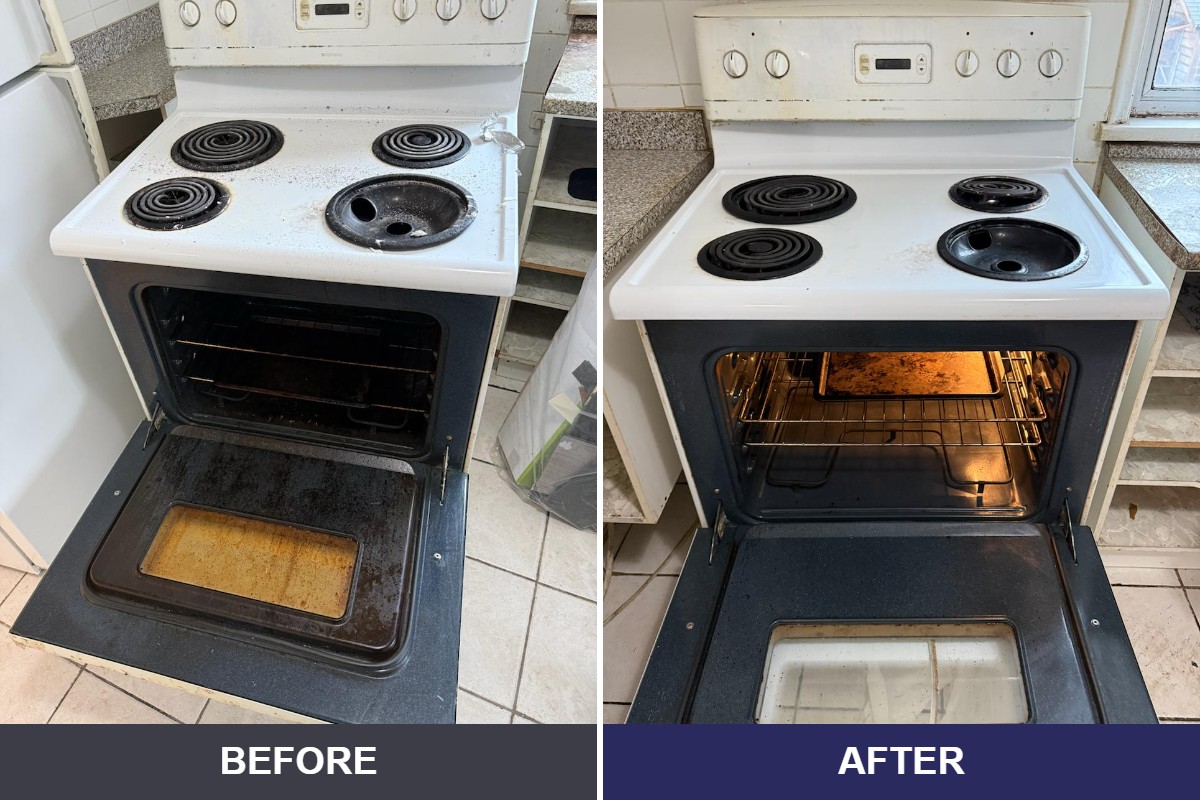
A greasy oven makes an otherwise clean kitchen feel unfinished. Splattered oil, burned-on cheese and smoky residue build up slowly, then get much harder to shift after a few high-heat meals. The good news is that cleaning a greasy oven is almost entirely about dwell time rather than effort. Scrubbing harder is what people do when they have not left the product on long enough.
This guide covers what to gather, the step-by-step method, how to handle the door glass without scratching it, when the self-clean cycle is a bad idea, and how to keep it from building up again.
What to Gather First
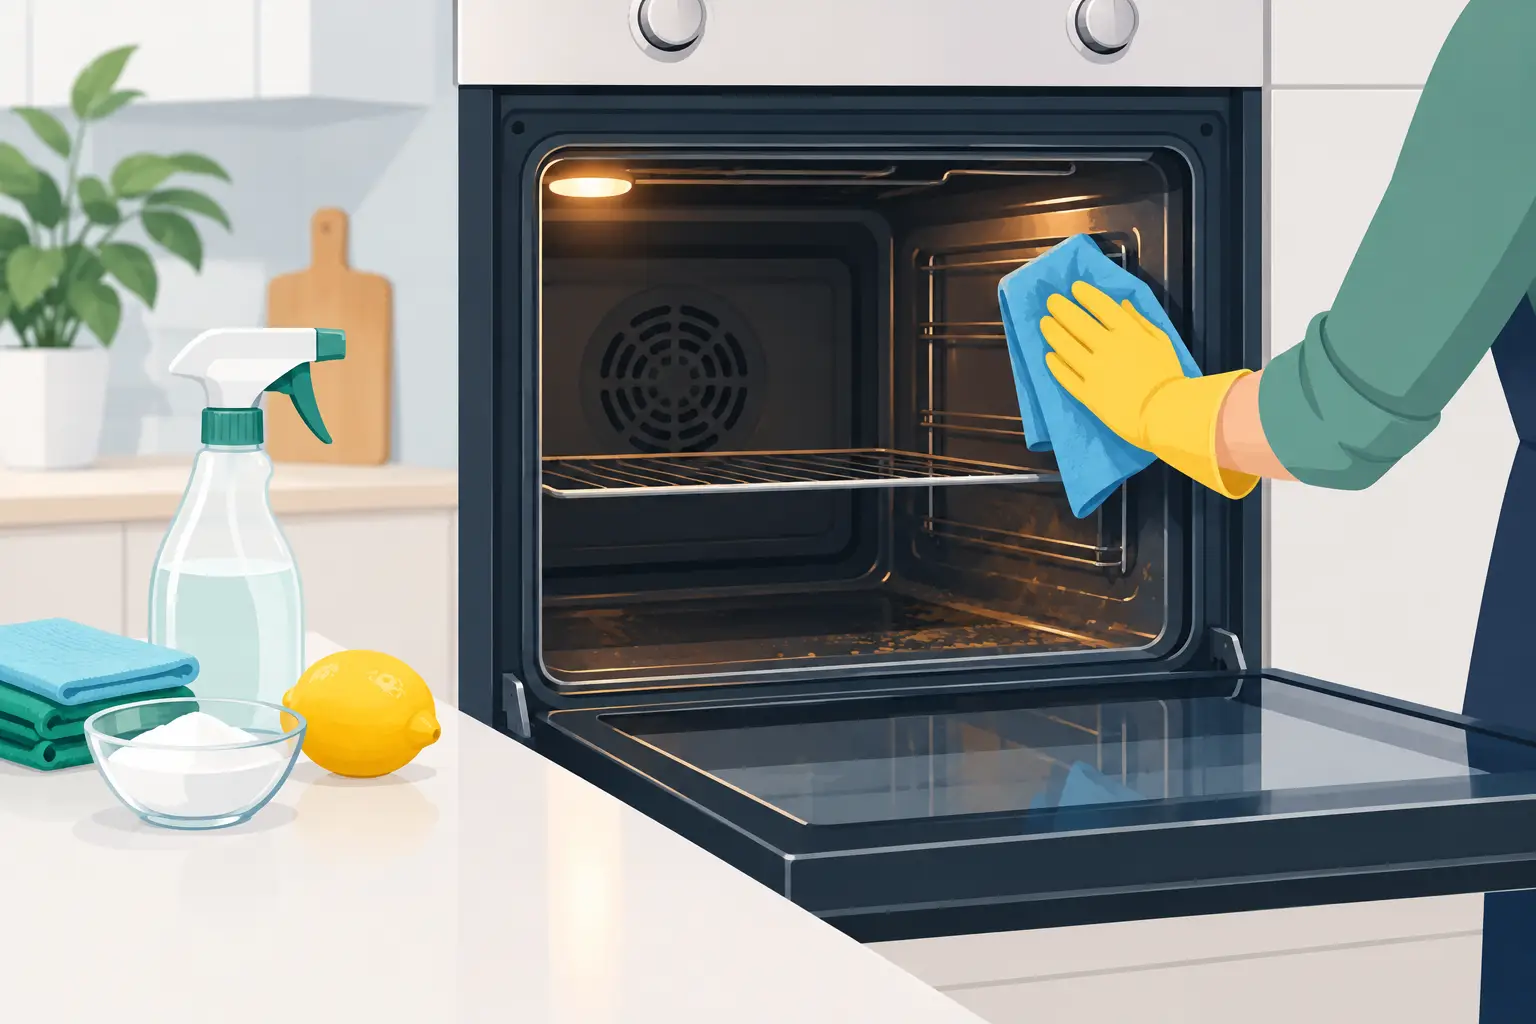
You do not need specialist products for most ovens. Baking soda, white vinegar in a spray bottle, dish soap, a non-scratch pad, a plastic scraper or old bank card, microfibre cloths, rubber gloves and a bin bag for the racks will handle the majority of jobs.
A dedicated oven cleaner is worth it when residue is carbonised rather than greasy, meaning hard, black and shiny instead of soft and brown. If you use one, ventilate properly, wear gloves, and follow the label on contact time.
One rule applies regardless of product: never mix cleaning products. Bleach with ammonia, or bleach with vinegar, produces genuinely dangerous gases. Pick one approach and finish with it.
Match the Method to the Condition
How bad the oven is decides which approach is worth starting. Picking the wrong one is why people spend a Saturday and get a mediocre result.
| Condition | Best Method | Dwell Time | Hands-On Time |
|---|---|---|---|
| Light splatter, glass still clear | Hot soapy water and a cloth | None | 15 min |
| Brown greasy film, some baked spots | Baking soda paste | 6 hrs | 30 to 45 min |
| Heavy buildup, glass hazy | Baking soda paste, overnight | Overnight | 60 to 90 min |
| Hard, black, glassy deposits | Commercial oven cleaner | Per label | 60 to 90 min |
| Years of neglect, moving out | Professional, or repeated passes | Multiple cycles | 2 to 3 hrs |
| Racks, any condition | Soak in hot soapy water | 1 hr plus | 15 to 20 min |
The pattern across every row is that hands-on time barely changes while dwell time changes a lot. That is the whole lesson: the product does the work if you let it, and scrubbing is what you do instead of waiting.
The Method, Step by Step
1. Remove and soak the racks
Take the racks out first so you have clear access to the cavity. The easiest way to soak them is in the bathtub lined with an old towel to protect the enamel, filled with hot water and a generous amount of dish soap. Leave them while you work on the oven itself.
If you have no bath, a bin bag works: put the racks in with hot soapy water, seal it, and leave it in the bathtub or shower in case it leaks. Either way they want at least an hour.
2. Make and apply a baking soda paste
Mix baking soda with a little water until it is the texture of thick paint. Spread it over the interior surfaces: the floor of the oven, the sides, the back and the inside of the door. Keep it away from the heating elements and any exposed fan or vent openings.
Then leave it alone. Give it at least six hours, and overnight if the oven is in poor condition. This is the single step that decides how hard the rest of the job is, and it is the one everybody rushes.
3. Wipe out and lift the residue
Wipe the dried paste out with a damp cloth, rinsing the cloth often. For anything that stays put, spray a little white vinegar onto the baking soda residue, which will foam, loosen the remainder and make it much easier to remove.
Use a plastic scraper or an old bank card on stubborn deposits rather than anything metal. Repeat on individual patches rather than reapplying to the whole oven. Finish with a clean damp cloth to lift the last of the baking soda, then dry.
4. The door glass
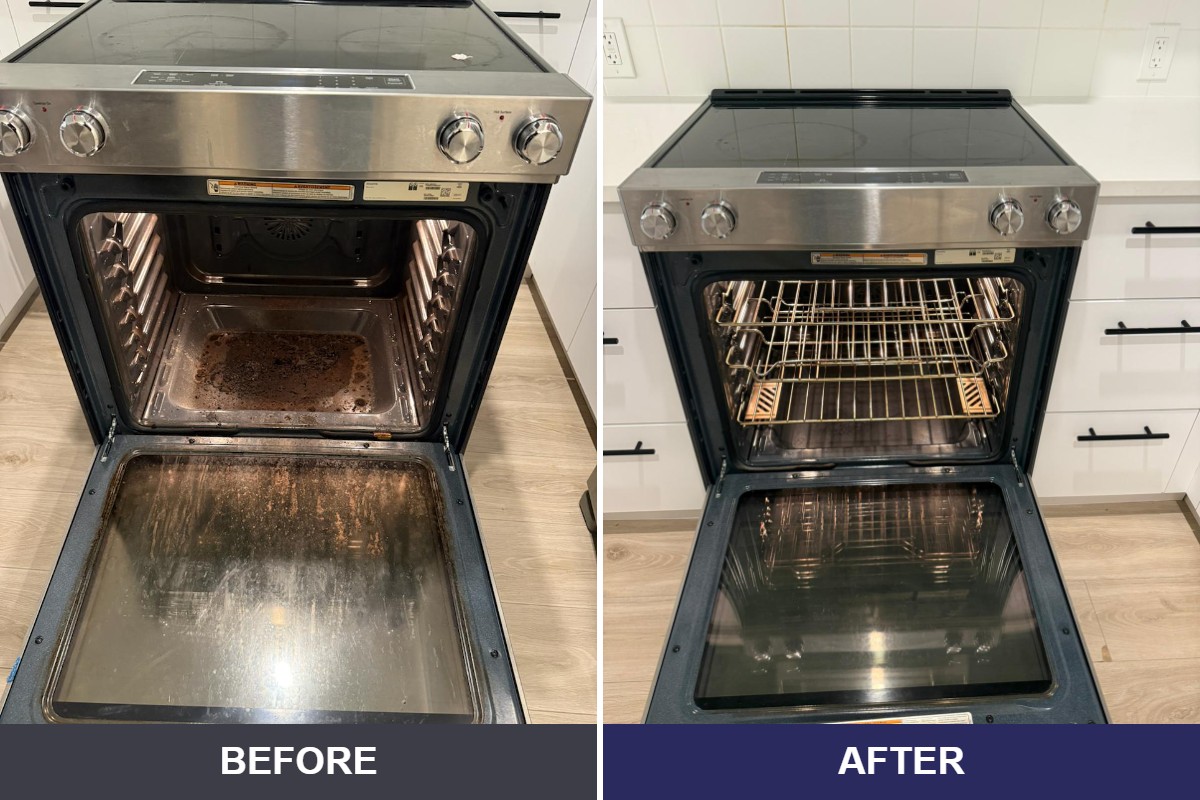
Door glass needs patience rather than force. Lay a baking soda paste on the inside of the glass, leave it 20 to 30 minutes, then work it gently with a non-scratch pad and lift it with a damp cloth. A plastic scraper held nearly flat against the glass takes off baked-on spots without scratching.
Never use steel wool or a metal blade on glass. If your oven door disassembles and you are confident doing it, cleaning between the panes solves the haze that no amount of surface cleaning will touch. If you are not confident, leave it. A damaged door is a far more expensive problem than a slightly hazy one.
5. Racks and reassembly
Back to the racks. After soaking, most residue comes away with a non-scratch pad. For anything remaining, a baking soda paste and a second short soak will usually finish it. Dry them fully before they go back in, because damp racks will rust.
Should You Use the Self-Clean Cycle?
Sometimes, and with more caution than most people apply. A pyrolytic cycle heats the cavity to a very high temperature and reduces residue to ash you then wipe out. It genuinely works.
The reasons to think twice: it produces strong odours and some smoke, which is a real problem in a condo or apartment with sensitive smoke detectors and shared ventilation. It puts significant thermal stress on an older appliance, and failures during or shortly after a self-clean cycle are not unusual. And it takes hours, which rules it out when you are cleaning ahead of a same-day inspection.
If you do run it, remove the racks unless the manual says otherwise, ventilate the kitchen, keep pets out of the room, and do not leave the house while it runs. Read your manual first rather than assuming, because the instructions differ meaningfully between manufacturers.
Tough Grease and Burned-On Spills
Where baking soda has not fully worked, the answer is a second application rather than a harder scrub. Reapply to the specific patches, cover them with a damp cloth to stop the paste drying out, and leave it another few hours. Keeping the paste moist is what lets it keep working.
For carbonised deposits that are hard and glassy, a commercial oven cleaner is the practical choice. Ventilate, wear gloves, respect the stated contact time, and remove every trace of product afterwards. If the oven is going into a rental inspection, that last part matters: residue left behind is its own problem.
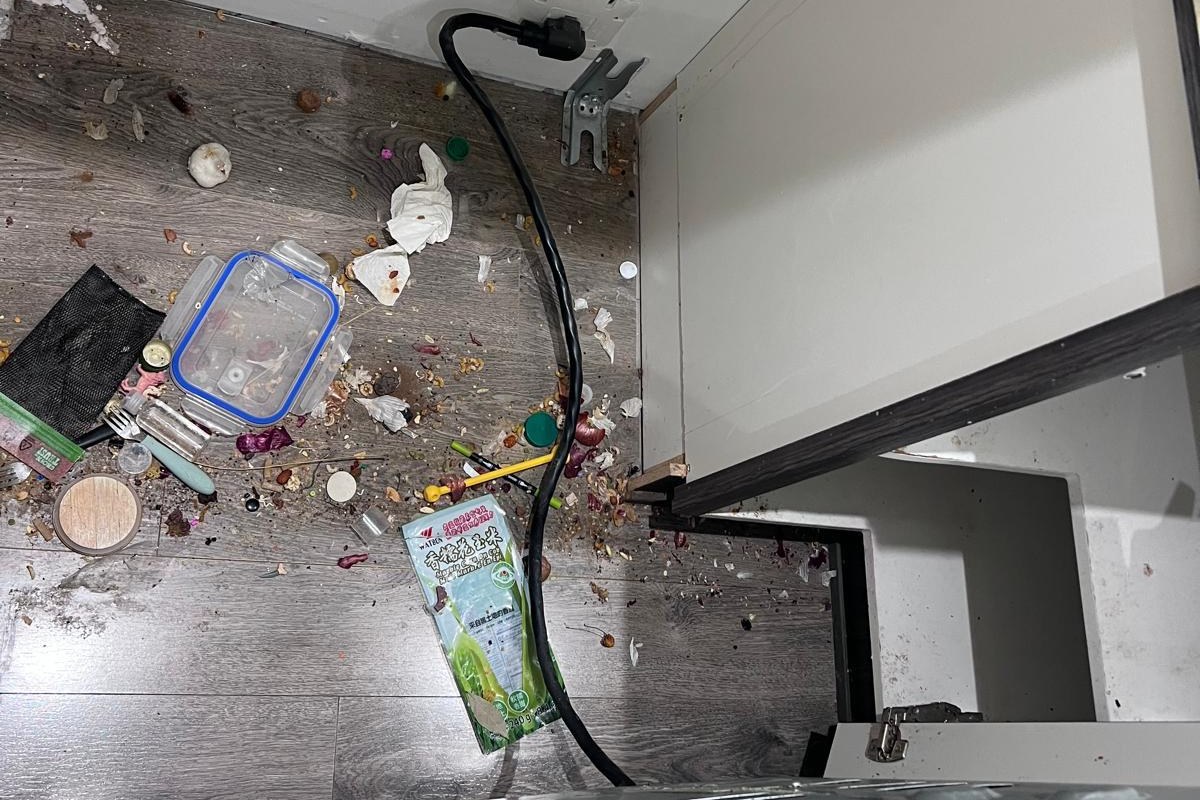
Do not forget the surrounding areas while you are there. The range hood filter, the wall behind the range and the gap between the oven and the counter all collect the same grease, and all three get flagged at move-out. Kitchen cleaning add-ons covers how often each needs doing.
How Often, and Why It Matters at Move-Out
Quarterly for an oven in regular use, or whenever the door glass stops being clear. Leaving it longer does not just make the job harder, it makes it slower, because carbonised residue needs dwell time that soft grease does not.
If you are a tenant, this stops being housekeeping and becomes money. Baked-on oven grease is cleaning rather than normal wear and tear, which makes it one of the most straightforward things a landlord can deduct for, and the oven is the single most disputed item on a move-out condition report. Our tenant deposit countdown and rental kitchen guide both put the oven first for exactly that reason.
Keeping Grease From Building Up
Wipe spills once the oven has cooled rather than leaving them to carbonise at the next high-heat use. A spill removed the same week takes a cloth; the same spill after three roasts takes an hour.
Use a baking tray or foil beneath anything likely to bubble over, but never line the oven floor with foil, which can block airflow and damage the element. Run the range hood whenever you use high heat, and clean the hood filter quarterly so it keeps extracting rather than dripping grease back down.
And if your oven is already past the point where a Saturday will fix it, that is what a deep clean or a kitchen cleaning service is for. Inside the oven is quoted against the actual job, because an oven cleaned quarterly and one untouched for four years are not the same work.
Kitchen and Oven Cleaning Across Metro Vancouver
We handle oven interiors, range hoods and full kitchen deep cleans across the Lower Mainland, including Vancouver, Downtown Vancouver, Kitsilano, Burnaby, Richmond, North Vancouver, Surrey and Coquitlam.
If an inspection date is coming and the oven is the problem, get a flat-rate quote and you will know the cost before anyone starts.
Frequently Asked Questions
What is the easiest way to clean a greasy oven?
Baking soda paste left on overnight, then wiped out with a damp cloth and a spray of white vinegar on anything stubborn. The result depends on dwell time rather than scrubbing, so leaving the paste on longer is more effective than working harder.
How long should baking soda sit in an oven?
At least six hours, and overnight for an oven in poor condition. If a patch has not lifted, reapply to that spot and cover it with a damp cloth so the paste stays moist, then leave it a few more hours rather than scrubbing.
How do I clean oven door glass without scratching it?
Baking soda paste for 20 to 30 minutes, then a non-scratch pad and a plastic scraper held nearly flat. Never use steel wool or a metal blade. Haze between the panes cannot be reached from the surface and only disassembly resolves it, which is not worth attempting unless you are confident.
Is the self-cleaning cycle safe to use?
Often, but with care. It produces strong odours and some smoke, which causes problems in condos with sensitive detectors, and it puts real thermal stress on older appliances. Remove the racks unless your manual says otherwise, ventilate, keep pets out, and do not leave the house while it runs.
How often should an oven be cleaned?
Quarterly for an oven in regular use, or whenever the door glass stops being clear. Leaving it longer makes the job slower rather than just harder, because soft grease carbonises into deposits that need far more dwell time to shift.
Do landlords check the oven at move-out?
Yes, and it is usually the first thing checked. Baked-on oven grease counts as cleaning rather than normal wear and tear, which makes it straightforward to deduct for. The cavity, door glass, racks and drip pans are the most frequently flagged items on a condition report.
Related Cleaning Guides
- Kitchen Cleaning Add-Ons: Which Are Worth Booking?
- How to Clean a Rental Kitchen Before Move-Out
- Tenant Security Deposit Cleaning: A Two-Week Countdown
- What Is Included in a Deep Clean?
- Kitchen Cleaning Services
About the Author
Goldy Grewal, Founder of Speedy Sparkle Cleaning Services
Goldy Grewal founded Speedy Sparkle Cleaning Services to bring honest, flat-rate pricing to Vancouver homes. The team has completed over 1,000 cleans across Metro Vancouver, holds a 4.9 star rating from 79 plus reviews, carries $2M liability insurance, is WorkSafe BC registered, and is fully background checked.
About the author : Goldy Grewal

Goldy Grewal is the founder of Speedy Sparkle Cleaning Services, a Vancouver-based home and commercial cleaning company. Goldy started the business to bring honest, flat-rate pricing to Vancouver homeowners after seeing too many families hit with surprise hourly bills. With 5+ years of experience and 1,000+ cleans completed across Greater Vancouver, Goldy leads a fully insured ($2M liability), WorkSafe BC registered, background-checked team.