How to Clean Rental Kitchens Before Move-Out
A rental kitchen can look clean at a glance and still lose points during a move-out inspection. Grease behind the stove, crumbs in drawer tracks, water marks around the faucet, and a forgotten refrigerator shelf are the details landlords and property managers notice. Knowing how to clean rental kitchens properly means cleaning for the next inspection, not just for everyday use.
Whether you are handing back the keys, preparing an apartment for a new tenant, or turning over a short-term rental, work in a clear order. It helps you avoid re-cleaning surfaces and makes the job feel manageable, even when the kitchen has had a lot of use.
Start With Your Lease and a Quick Kitchen Check
Before opening a single cleaning product, review your lease or move-out instructions. Some buildings have specific expectations for appliances, grease filters, cabinets, or garbage disposal units. If the property manager provided a move-in condition report or photos, use them as a reference. Your goal is generally to return the kitchen in the same condition you received it, allowing for normal wear.
Take current photos before you begin, especially if you notice chipped counters, damaged cabinet doors, stained grout, or appliance issues that were already there. Cleaning should improve the condition of the space, not make you responsible for pre-existing damage.
Remove food, dishes, magnets, liners, and small appliances first. An empty kitchen reveals what needs attention and prevents crumbs or grease from getting transferred onto freshly cleaned surfaces.
Gather Products That Match the Surface
You do not need a cart full of harsh chemicals to get strong results. A degreaser, dish soap, baking soda, an all-purpose cleaner, microfiber cloths, a non-scratch scrub pad, an old toothbrush, and a mop handle most rental kitchen jobs. Keep a dry towel nearby for polishing stainless steel and drying fixtures.
Check surfaces before using abrasive powders or strong cleaners. Natural stone, painted cabinets, laminate, stainless steel, and glass cooktops all respond differently. For example, vinegar can leave marks on some stone counters, while a rough scrubber can scratch a glass cooktop or dull cabinet finishes. When in doubt, test a hidden area first.
Open a window or run the range hood while working with cleaning products. Never mix bleach with ammonia, vinegar, or other cleaners. If you are dealing with heavy buildup, letting a suitable cleaner sit for several minutes is usually safer and more effective than aggressive scrubbing.
How to Clean Rental Kitchens From Top to Bottom
Cleaning from high surfaces down keeps dust, crumbs, and loosened grease from landing on work you have already finished. Start with upper cabinets, vents, and light fixtures, then move to counters, appliances, lower cabinets, and floors.
Clean cabinets, handles, and drawer tracks
Cabinet fronts collect fingerprints and cooking residue, especially near the stove and handles. Wipe doors with a lightly damp microfiber cloth and a mild all-purpose cleaner or diluted dish soap. Pay close attention to the edges, grooves, hinges, and handles. Use a toothbrush or soft detailing brush for tight corners, then wipe away residue with a clean damp cloth.
Empty each drawer and vacuum or wipe out loose debris. Drawer tracks can hold crumbs, hair, and sticky spills that are easy to miss. A damp cloth wrapped around a butter knife can reach narrow tracks without damaging them. Let drawers dry fully before replacing liners, if you are leaving any behind.
Degrease the stove, oven, and range hood
The stove area is often the make-or-break section of a rental kitchen. Remove burner grates, drip pans, and knobs if the manufacturer allows it. Soak removable pieces in warm, soapy water while you clean the cooktop. Use a non-scratch pad for baked-on residue, and avoid flooding gas burners or electrical connections.
For a glass cooktop, use a cleaner made for that surface and a scraper designed specifically for glass if there is burnt-on food. Do not use steel wool. Wipe the surrounding counter edges and the wall or backsplash behind the range, where grease can form a nearly invisible film.
Clean the oven according to the appliance instructions. A self-cleaning cycle can be useful, but it may create smoke and strong odors, and it is not always appropriate for older appliances or closely scheduled move-outs. If you use an oven cleaner, ventilate the room, wear gloves, and remove every trace of product before the inspection. Pull out the racks, clean both sides of the oven door, and do not overlook the bottom drawer.
Finish with the range hood. Wipe the exterior, underside, buttons, and surrounding wall. If the hood has a removable metal filter, soak it in hot water with degreasing dish soap, scrub gently, rinse, and dry it completely before reinstalling.
Make the refrigerator and freezer inspection-ready
A refrigerator should be completely empty, defrosted if needed, and free of odors. Remove shelves and drawers when possible, wash them with warm soapy water, and allow them to dry before putting them back. Wipe the interior walls, door seals, shelf rails, and the area beneath the produce drawers.
Do not forget the exterior handles, top surface, sides, and floor beneath the refrigerator. If you can safely pull the appliance forward, vacuum dust and crumbs from the exposed floor. Ask for help with heavy appliances rather than dragging them and damaging flooring.
For lingering odors, wipe the interior with a mild baking soda solution, then leave the door slightly open only if the unit is being turned off and the property manager has approved it. Otherwise, keep it running and odor-free for the next tenant.
Detail the sink, faucet, and garbage disposal
Food particles and mineral buildup make a clean kitchen feel neglected quickly. Scrub the sink basin, drain, faucet base, handles, and backsplash. A soft brush works well around the faucet seams and drain edge. Dry the faucet with a microfiber cloth afterward to remove water spots.
If the rental has a garbage disposal, run cold water while operating it and flush it for a few extra seconds after it stops. Do not put grease, coffee grounds, fibrous vegetables, or harsh drain chemicals into the disposal. If it smells unpleasant, use the method approved in your building instructions rather than trying an unverified fix.
Finish counters, walls, and floors
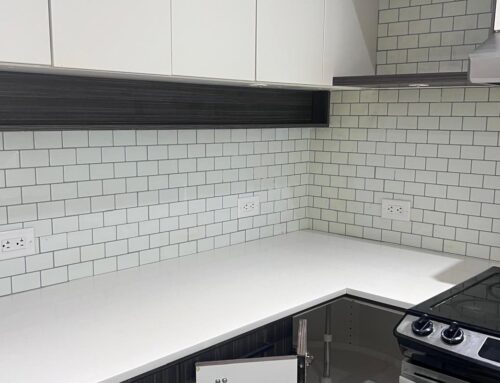
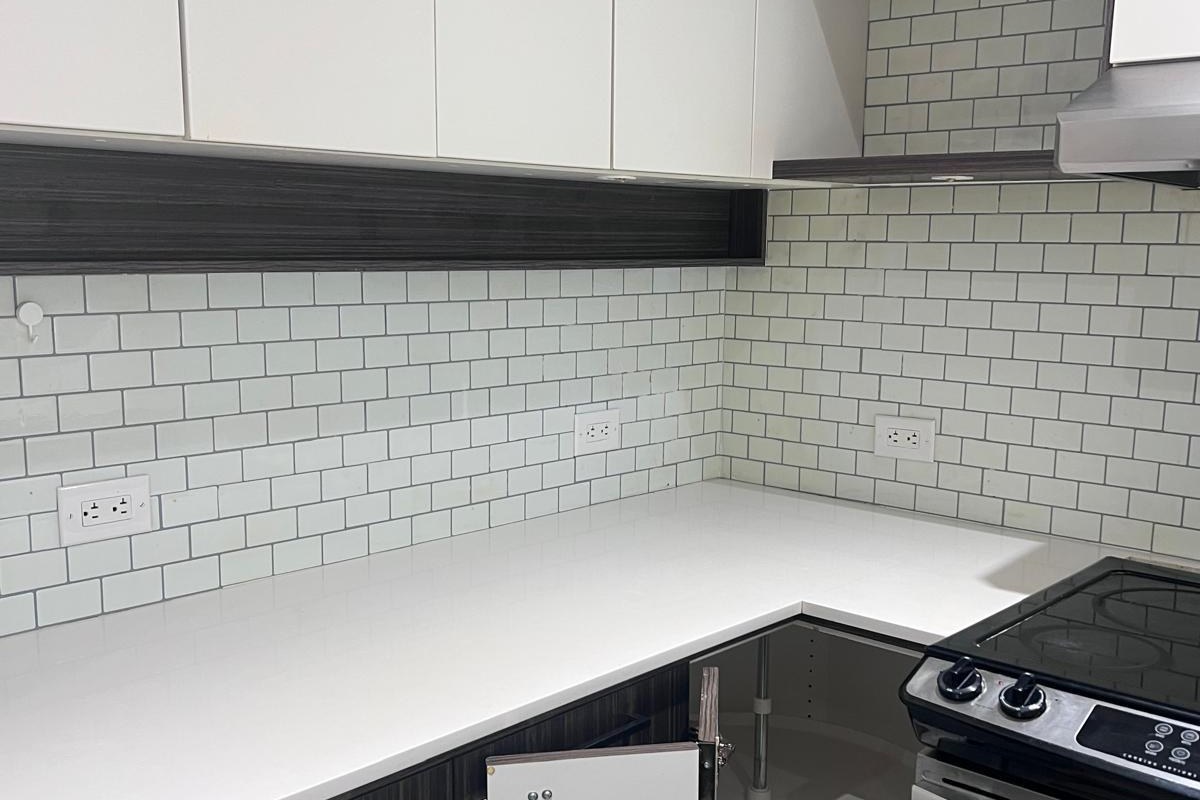
Wipe counters last so they catch any crumbs from cabinets and appliances. Clean along caulk lines, around outlet covers, and behind countertop appliances. If there are sticky areas, let your cleaner sit briefly before wiping instead of scraping with a sharp tool.
Check the backsplash, walls near the stove, and baseboards for splatters. These areas often need only a gentle wipe, but leaving them untouched can make an otherwise thorough kitchen look incomplete.
Vacuum or sweep the floor, including corners and beneath movable appliances. Then mop with a product suited to the flooring. Use only a lightly damp mop on laminate or wood-look flooring, since excess water can cause swelling or damage. Let the floor dry before taking final photos or inviting the property manager in.
Do Not Forget These Move-Out Details
The final 10 minutes often make the biggest difference. Look at the kitchen from standing height, then crouch down and check it from floor level. Different angles reveal grease, crumbs, and streaks that normal lighting hides.
Before you call the job done, check these commonly missed areas:
- The top of the refrigerator, upper cabinets, and microwave
- Cabinet interiors, drawer tracks, and under-sink storage
- Stove knobs, oven racks, drip pans, and range hood filters
- The wall behind the trash can and around light switches
- Sink drains, faucet handles, and dishwasher edges
- Floor corners, baseboards, and the space beneath appliances
Take clear photos once the kitchen is dry and empty. They can be useful if there is a question about the condition of the unit after you move out.
When a Professional Kitchen Cleaning Makes Sense
A DIY clean is often enough for a lightly used kitchen when you have time, the right products, and access to every surface. It may be worth bringing in professional help when grease has built up over months or years, appliances need deep cleaning, you are working around a moving deadline, or you need a documented standard for a rental turnover.
For landlords and short-term rental hosts, professional cleaning can also help create consistency between tenants and guests. For renters, it can reduce the pressure of handling an oven, fridge, cabinets, and floors while packing an entire home. Speedy Sparkle Cleaning provides detailed move-in, move-out, apartment, condo, and kitchen cleaning throughout Greater Vancouver and the Lower Mainland, with clear service options and no hidden-fee surprises.
Give yourself enough time to let cleaned surfaces dry, do one final walkthrough, and leave the kitchen the way you would want to find it on move-in day. That extra care can make handing over the keys feel a lot lighter.
About the author : Goldy Grewal

Goldy Grewal is the founder of Speedy Sparkle Cleaning Services, a Vancouver-based home and commercial cleaning company. Goldy started the business to bring honest, flat-rate pricing to Vancouver homeowners after seeing too many families hit with surprise hourly bills. With 5+ years of experience and 1,000+ cleans completed across Greater Vancouver, Goldy leads a fully insured ($2M liability), WorkSafe BC registered, background-checked team.