
Landlord Cleaning Inspection Guide for Rentals
A missed stovetop spill, dusty baseboard, or stained shower door can turn a routine turnover into a dispute over a security deposit. This landlord cleaning inspection guide gives property owners and managers a practical way to assess cleanliness, document the property’s condition, and prepare a rental that feels ready for its next tenant.
The goal is not to expect a brand-new home after every tenancy. It is to apply the same clear standard to every inspection, separate normal wear from neglect, and keep records that support fair decisions. A consistent process also helps reduce vacancy time between leases.
Start With the Lease and Move-In Records
A cleaning inspection works best when there is a baseline. Before walking through the property, review the signed lease, move-in checklist, photos, and any written agreements about cleaning, pets, smoking, or maintenance. Compare the unit to its documented move-in condition rather than relying on memory.
Set reasonable expectations. Faded paint, minor carpet traffic patterns, and normal wear on appliances may result from ordinary use. Grease buildup in an oven, food left in cabinets, excessive pet hair, or a shower that has not been cleaned are different matters. Local landlord-tenant rules and the lease should guide any decision about charges or deductions, especially when condition is disputed.
Schedule the inspection as close as possible to move-out. If your local requirements allow it, invite the tenant to attend. A shared walkthrough can resolve simple questions on the spot and gives the tenant an opportunity to address minor cleaning concerns before keys are returned.
Use a Consistent Landlord Cleaning Inspection Guide
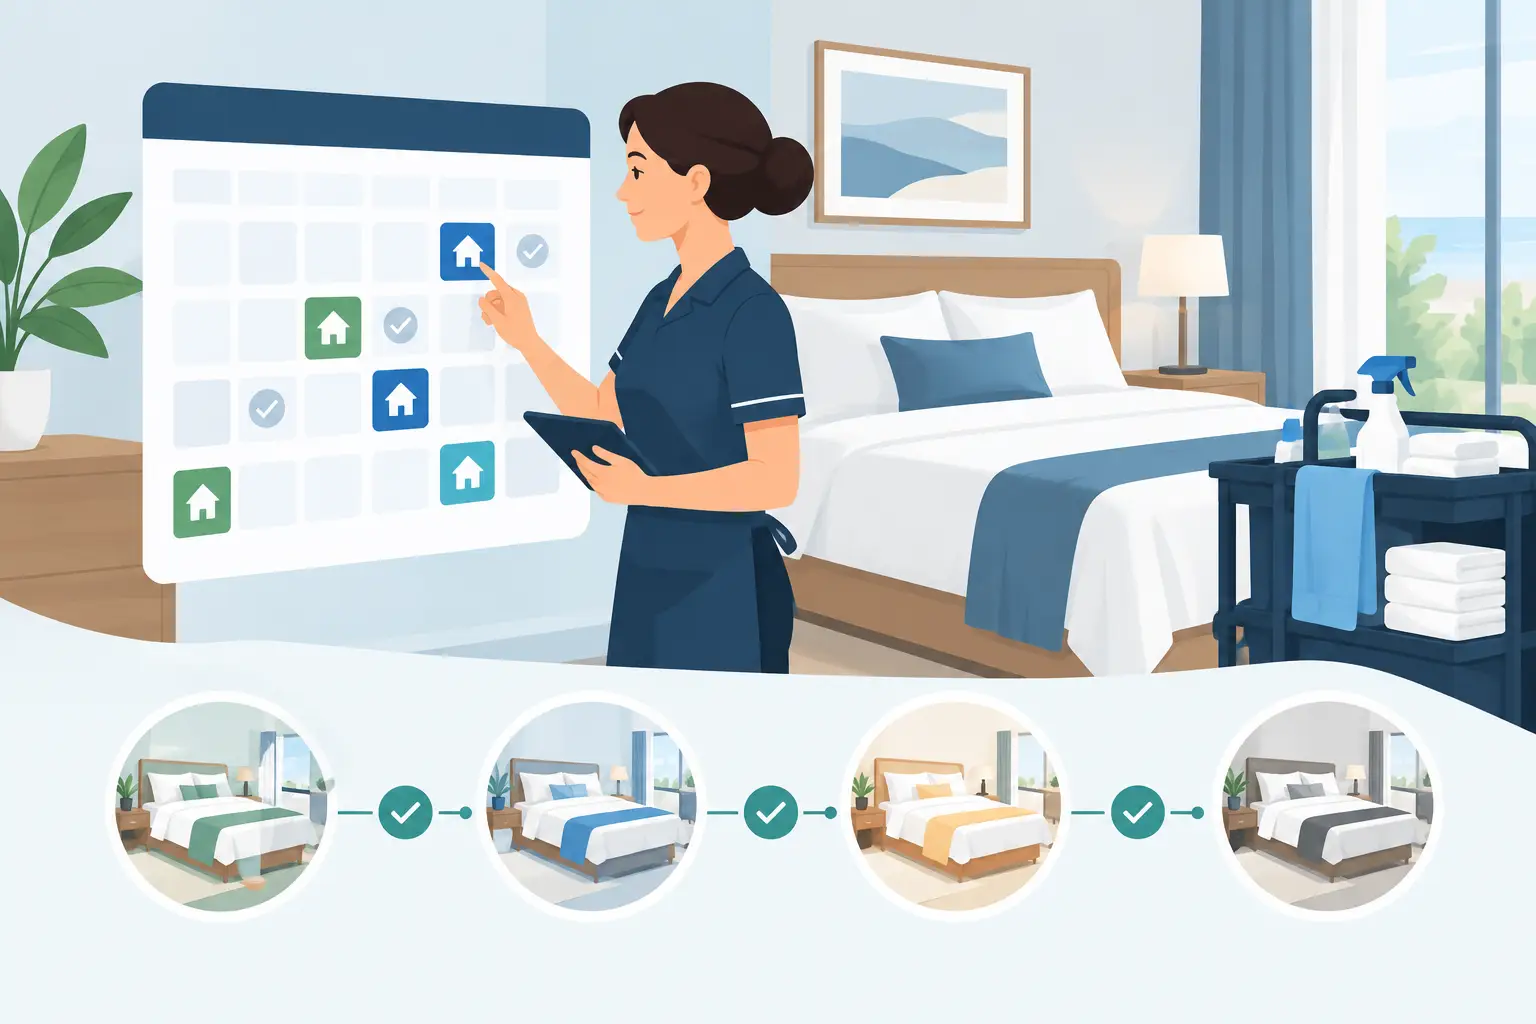
Inspect in the same order every time. Beginning at the entry and moving room by room makes it less likely that you will overlook details. Bring the move-in report, a phone or camera for time-stamped photos, a flashlight, and a simple checklist with space for notes.
Photograph concerns clearly and take a wider shot that shows where the issue is located. For example, take one photo of the full oven and another close-up of baked-on grease. Written notes should describe facts, not assumptions: “crumbs and food residue in lower cabinet” is more useful than “kitchen left dirty.”
Pay attention to odor as well as visible surfaces. Lingering smoke, garbage, mildew, pet odor, or spoiled food can affect how quickly a unit can be shown and rented. Note the odor, its location, and whether it remains after basic airing out. Do not assume an odor has one cause until the source has been checked.
Entryways, halls, and living spaces
Start with the first impression a prospective tenant will have. Floors should be swept, vacuumed, or mopped as appropriate. Check corners, behind doors, closet floors, vents, window tracks, baseboards, and light switches. These are small areas, but they quickly make a unit look neglected when dust or marks are visible.
Look for adhesive residue, nails, wall marks, abandoned belongings, and scuffs beyond normal use. Test lights and note damaged blinds, screens, or window latches separately from cleaning tasks. Cleaning can improve a surface, but it cannot repair a torn screen or cracked fixture.
Kitchen inspection points
The kitchen usually requires the most detailed review because grease and food residue build up in places tenants rarely see. Open every cabinet and drawer. Check shelves, handles, kick plates, backsplashes, and the floor beneath removable appliances when accessible.
Inspect the refrigerator for spills, crumbs, expired food, odors, and wiped door seals. In the oven, look at racks, the interior glass, the bottom panel, and the area around control knobs. The microwave, dishwasher filter area, sink, faucet, drain, and range hood also deserve attention. A clean countertop is not enough if the oven is greasy or the refrigerator has been left with food inside.
If appliances need extra work, document the condition before cleaning begins. This creates a clear record of why an additional cleaning service was needed.
Bathrooms and laundry areas
Bathrooms should be sanitary, dry, and free of leftover personal items. Check toilets inside and around the base, shower walls, tubs, drains, grout, glass doors, mirrors, vanities, cabinets, exhaust fans, and fixtures. Soap scum and mineral buildup can be stubborn, particularly on glass and chrome, so distinguish between a quick wipe-down and cleaning that requires more time or specialty products.
Look closely for signs that may be maintenance issues rather than cleaning problems, including persistent mold, loose caulking, leaks, slow drains, or peeling surfaces. Take photos and arrange repairs promptly. A tenant-ready bathroom should look clean, but it should also function properly.
In laundry spaces, inspect lint, detergent residue, floor debris, and surfaces behind or beside machines when safe to access. Empty lint traps and check for moisture or drainage concerns that could point to a larger issue.
Bedrooms, closets, and outdoor areas
Bedrooms and closets should be empty, vacuumed or swept, and free of dust on shelves, rods, ledges, and window sills. Check under beds or inside closets for belongings that may have been left behind. Follow your local requirements and lease terms before disposing of any property.
For houses, townhomes, or rentals with private outdoor areas, inspect patios, balconies, yards, storage spaces, and garbage areas. Remove trash, pet waste, and obvious debris. Make a note of damaged furniture, planters, or unauthorized items rather than treating every outdoor concern as a cleaning charge.
Decide What Needs Cleaning, Repair, or Replacement
A productive inspection separates turnover work into three categories: routine cleaning, repair, and replacement. This keeps the scope clear for your team and avoids spending cleaning time on an issue that actually needs a contractor.
Routine cleaning includes vacuuming, mopping, dusting, wiping surfaces, removing interior garbage, sanitizing bathrooms, and cleaning kitchen appliances. Repairs cover items such as leaking faucets, broken cabinet hinges, damaged blinds, and nonworking lights. Replacement may be necessary for severely stained carpet, cracked glass, missing smoke detectors, or appliances beyond repair.
The distinction matters when assessing costs. A professional deep clean may be appropriate after a tenant leaves a unit visibly unclean, but age-related deterioration is not automatically a cleaning expense. Keep invoices, photos, inspection notes, and communication records together in the tenant file.
Build a Turnover Cleaning Scope That Matches the Unit
Not every rental needs the same level of service. A well-maintained apartment after a short tenancy may need a focused clean, while a pet-friendly family home or a long-term rental may require a deeper reset. The property’s size, number of bathrooms, appliance condition, floor type, and time between tenants all affect the right scope.
For a standard turnover, make sure the service includes detailed kitchen and bathroom cleaning, floor care, dusting, interior cabinet wipe-downs, trash removal, and attention to high-touch surfaces. Add-ons such as interior fridge cleaning, oven cleaning, carpet cleaning, window cleaning, and upholstery cleaning are useful when inspection notes show they are needed.
Speedy Sparkle Cleaning helps Lower Mainland landlords and property managers tailor move-out and turnover cleaning to the actual condition of the unit. Clear scopes and upfront pricing help you plan the work without surprises, especially when multiple units need to be prepared on a tight schedule.
Make the Final Check Before Listing
Once cleaning and repairs are complete, do a final walkthrough before taking listing photos or scheduling showings. Turn on lights, open closets, check the refrigerator, run the faucet, and walk through the unit as a prospective tenant would. Fresh air, clean floors, streak-free mirrors, and an empty, odor-free kitchen make a stronger impression than a rushed last-minute touch-up.
Use fresh photos after the work is done. They support your listing, provide a new condition baseline, and show that the property was delivered in clean condition at the start of the next tenancy. Keep the completed inspection checklist with those photos for your records.
A fair, detailed inspection protects the property, respects good tenants, and gives the next resident a clean place to call home. When the turnover list is clear and the cleaning is handled promptly, you can hand over the keys with confidence.
About the author : Goldy Grewal

Goldy Grewal is the founder of Speedy Sparkle Cleaning Services, a Vancouver-based home and commercial cleaning company. Goldy started the business to bring honest, flat-rate pricing to Vancouver homeowners after seeing too many families hit with surprise hourly bills. With 5+ years of experience and 1,000+ cleans completed across Greater Vancouver, Goldy leads a fully insured ($2M liability), WorkSafe BC registered, background-checked team.